In Puzzles
Read the targets first. Follow the gap, plan the next two taps, and notice armor before assuming a match will finish the level.
 Get the game
The strategy guide
Good sliding block puzzle strategy starts with the empty space. Follow three real Bored Blocks puzzles to see how a direct match, a setup move and an armored target change your plan.
Official Bored Blocks guide · Code Technology · Updated November 20, 2026
These diagrams use layouts and verified solutions from the game’s current puzzle collection. They are teaching diagrams, not screenshots. Puzzle availability and move allowances can differ by app version.
How to read them: letters name columns, numbers name rows. A star marks a target; the dashed outline marks the next block to tap. Tap to slide—no dragging needed.
Find the gap
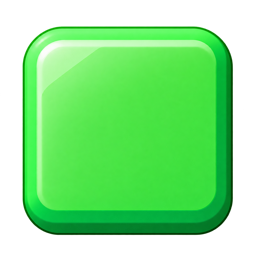
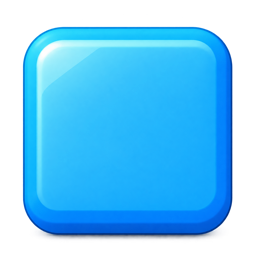
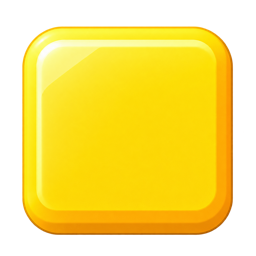
In “One Little Slide,” two red blocks already share the top row. The third red is directly below the gap. Tap it to complete the line.
Try this habit: Check the blocks directly above, below, left and right of the gap before searching the whole board.
Tap the red block at C2.
 A1★B1GAPC1C2
The red block fills C1. Three reds line up across the top row and clear the marked target.
A1★B1C1GAPC2The matched blocks are replaced. The marked target is gone: puzzle complete.
 A1
 B1
 C1GAPC2
Plan a setup move
In “Around the Corner,” moving the top-right red left makes room for the red below it. Follow the gap across both moves.
Try this habit: Before tapping, ask where the empty space will be afterward. That is where your next move begins.
Start with the red block at C1.
A1★GAPB1C1★A2B2C2B3Tap C1. It moves left into B1; the gap is now at C1. No match yet—that is the setup.
A1★B1★GAPC1A2B2C2B3Tap the red block at C2. It moves up into C1, completing the top row and clearing both targets.
A1★B1★C1A2B2GAPC2B3The matched blocks are replaced. The marked targets are gone: puzzle complete.
A1B1C1A2B2GAPC2B3Read the target
In “Crack, Then Clear,” the yellow target needs two hits. The first match removes its armor; a later chain clears it. Replacements are part of this puzzle’s solution.
Try this habit: Check marked targets and armor before spending a move. A match elsewhere is only useful if it advances the goal.
The marked yellow block at C3 has armor. Start by tapping B1.
A1B1GAPC1A2B2C2D2B3C3★2 hitsD3The yellow match hits C3, but its armor keeps it on the board. The gap has moved to B1.
A1GAPB1C1A2B2C2D2B3C3★D3Tap A1. The new green match starts a sequence of replacement matches that eventually clears the yellow target at C3.
B1C1A2B2C2D2B3C3★D3Shown just after the tap, before the cascades. Continue to see the replacement matches clear the target.
The green match clears and replacements create a blue match. No extra tap is needed.
B1C1A2B2C2D2B3C3★D3The blue match clears. The replacements now line up three yellow blocks in column C.
B1C1A2B2C2D2B3C3★D3The yellow match clears C3. The armored target is gone and the puzzle is complete.
B1C1A2B2C2D2B3C3D3Read the targets first. Follow the gap, plan the next two taps, and notice armor before assuming a match will finish the level.
Use the same local scan around the gap, but balance planning with the countdown. Puzzle solutions are fixed examples; they are not a guaranteed route through an Arcade board.
Need the basics first? Watch actual gameplay and learn the controls. Prefer an untimed break? Learn about Puzzles.
Your next clever move
Free to download. Includes ads. Available for iPhone and Android.